
You know what? There’s no secret to cleaning the old thermal paste on your CPU. But there are tips to ensure you do it right.
Enters our all-inclusive guide to getting rid of thermal paste!
If we are being sincere, removing thermal paste from your processor is a delicate procedure. Doing it incorrectly can damage your system– and we wouldn’t want that.
So if you are looking for tips on getting rid of old thermal paste, we’re on your team! This post will teach you about removing thermal paste without damaging your processor.
Why Do You Need to Clean Thermal Paste?
One crucial reason for removing the thermal paste from your CPU is maintaining your computer’s performance and longevity. If you’re wondering why this is necessary, let us explain.
Thermal paste is a crucial component of your computer’s cooling system. It transfers heat from your CPU towards the cooling solution, like a heatsink or liquid cooler.
Over time, however, this thermal paste breaks down and dries out, thus becoming less effective in transferring heat away from your CPU.
If the thermal paste isn’t performing correctly, your CPU will overheat. This could lead to reduced performance, crashes, and even permanent damage. So, to protect your CPU, remove the old thermal paste and apply a new layer.
Another reason why it’s essential to remove the old thermal paste is because it’s easy for it to become contaminated with dust, debris, and other particles. This can further decrease its effectiveness. Not even a relatively clean environment can shield it from attracting dirt.
Finally, removing old thermal paste allows you to inspect your CPU. That way, you can detect signs of cracks or discoloration instantly.
How to Remove Thermal Paste on CPU Quickly
Gathering the Necessary Tools
It would be best to have the right tools to remove the old paste from your CPU properly.
You’ll need little isopropyl alcohol, a cotton swab or paper towel, and a thermal compound for this process.
The alcohol will serve as a cleaning solution, allowing you to wipe away any leftover paste residue after the remover has done its job.
Conversely, the cotton swab is handy for scrubbing off more minor areas of thermal paste residue or getting into hard-to-reach spots on your CPU.
So, for clarity, you’ll need the following supplies to make sure everything goes smoothly:
- Isopropyl alcohol (at least 90% concentration)
- Cotton swabs
- A lint-free cloth or microfiber cloth
- Compressed air (optional)
- Cleaning thermal paste
Powering Down Your Computer
The next step in removing thermal paste without damaging your CPU is to power down your computer—and do it safely.
Shut down your computer properly and wait a few minutes. Then, to be extra cautious, unplug the power cords from the wall. Or shut off the circuit breaker that controls the outlet the power supply is plugged into to ensure it’s completely powered down.
Once you’re sure the PC is off, disconnect any cables and remove whatever side panel or case cover is necessary to access the CPU cooler.
Locating the CPU and Heat Sink
So, you’re ready to remove the CPU thermal paste and heatsink, but first, you need to locate them. If you’re unsure how to find them, don’t worry — it’s easy!
Lifting the Heatsink
Once the screws have been removed, you can lift the heatsink off your CPU. Be careful when doing this. Some heatsinks are held in place with adhesives, so make sure you don’t damage it as you lift it off your CPU.
Cleaning Your CPU and Heatsink
Now that your CPU and heatsink are exposed, use a soft cloth or brush to clean any dust or debris from both components.
You should also double-check that all fans, cables, RAM sticks, and expansion cards are out of the way before starting this process—they must stay dry.
Applying the Thermal Paste Remover
A thermal paste remover or isopropyl alcohol is the best way to remove thermal paste without damaging your CPU. It’s a chemical solvent that breaks down the thermal paste making it wipe seamlessly.
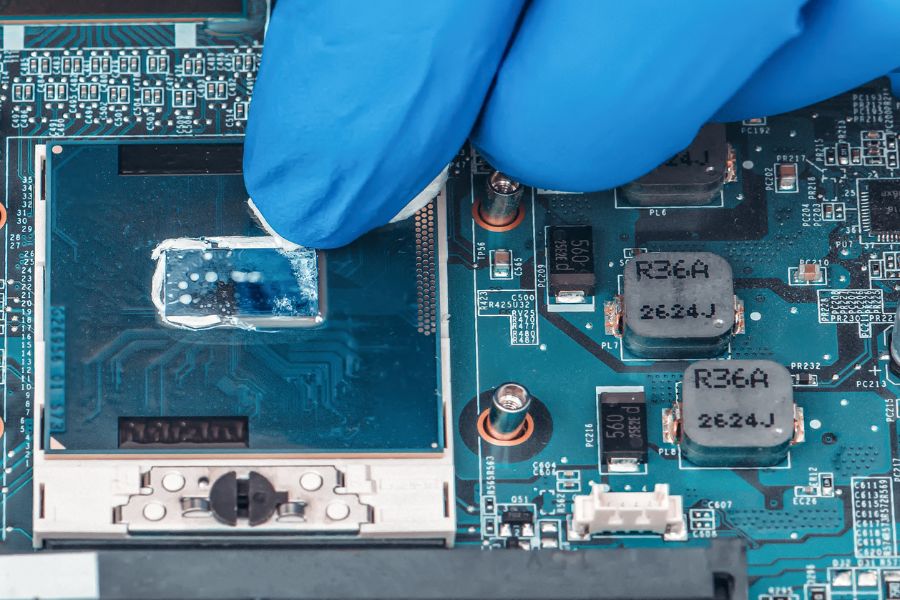
Wiping Away the Thermal Paste Gently and Thoroughly
Follow these simple steps to clean the thermal paste:
- First, apply a small amount of the thermal paste remover or isopropyl alcohol onto a lint-free cloth.
- Gently wipe the CPU and cooler in horizontal strokes until all residue is removed. Be careful not to press too hard; you don’t want to damage your CPU’s or cooler’s delicate parts.
- Allow the solution to sit on all sides of the CPU for 10 minutes to break down any remaining thermal paste residue.
- Use another lint-free cloth to wipe away any leftover thermal paste residue. Thoroughly clean any remaining solution on the CPU surface with water and rubbing alcohol.
Note that moisture must not enter your computer’s internal parts! - Place a new layer of thermal paste over your CPU before reassembling your system. Then, dry it properly before reassembling your computer and testing your new thermal paste application!
Pro Tip: Don’t put too much pressure on your CPU while cleaning.
By taking these few simple steps, you can easily clean old thermal paste without damaging your CPU or cooler to reapply a new one for improved cooling performance!
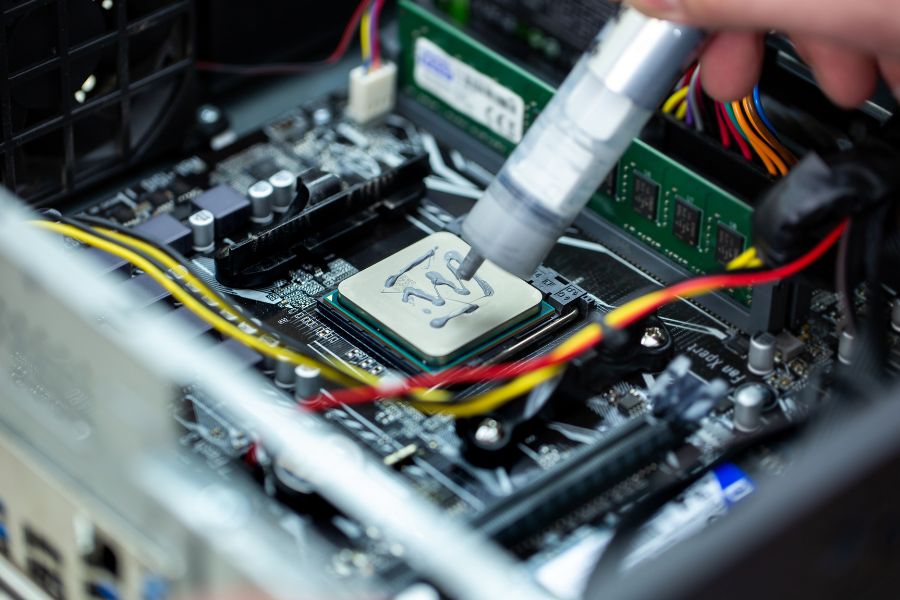
How Much Thermal Paste Should You Use?
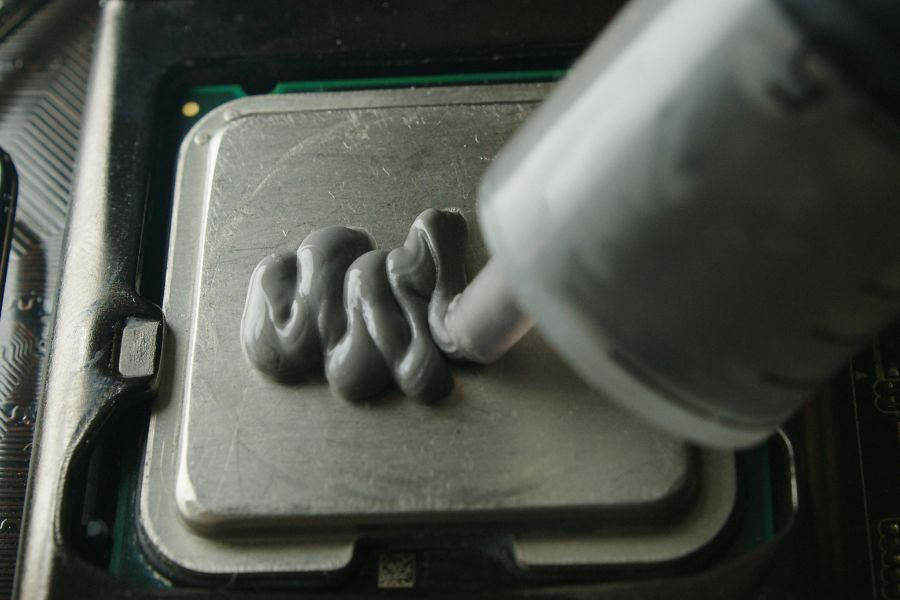
The amount you need depends on the size and shape of your CPU. However, as a general guideline, a pea-sized amount of thermal paste is sufficient for most CPUs.
You can also use the “X” method, which involves placing a small amount of thermal paste in the center of your CPU. Afterward, spread it out as an “X” using a plastic spreader or a credit card.
It’s also important to note that not all thermal pastes are created equal. For example, some thermal pastes are more viscous than others. It means they may require a different amount to achieve optimal heat transfer.
You should always check the manufacturer’s instructions or consult a professional if you’re unsure how much thermal paste to use.
Bottom Line
Taking time to remove thermal paste properly saves you a lot of trouble. Be sure to use a lubricant that won’t damage your CPU, and use caution when applying the paste because too much or too little can inhibit the cooling performance of your device.
Always prepare the surface of your CPU properly before reapplying the thermal paste. And use the best paste available to get the best performance from your device!
